

How to make a Perler or Hama bead pattern from any picture
Fuse beads - Perler beads, Hama beads - turn pixel art into something you can hold: a keyring, a coaster, a magnet for the fridge. Every pixel is one bead. Here is how to turn your pixel art or a photo into a bead pattern with the colors of real beads, a list of how many you need of each, and a chart to print - and how to iron the beads safely.
1 Start from pixel art or a photo
Open Image to Pixel and press Choose a picture or video. Under Size, pick how many beads across. A big square pegboard has 29 × 29 pegs, so 16 and 24 fit on one; 32 and more take a few boards side by side.
- A photo: a pet, a flower, a face - choose the part and the size as in how to turn a photo into pixel art. Bold shapes and few colors make the best bead pictures.
- Your own drawing: in the Pixel Art Maker, draw it at 16 × 16 or 32 × 32 and save it with PNG. Choose that PNG here at the same size, and every pixel of your drawing becomes exactly one bead.
In the Pixel Art Maker itself, the buttons over the paper - Beads and Pattern - show your drawing as beads and as a pattern too, in its own color names, and you can keep drawing on it bead by bead. For the colors of real beads, come here.
2 Pick Perler or Hama beads
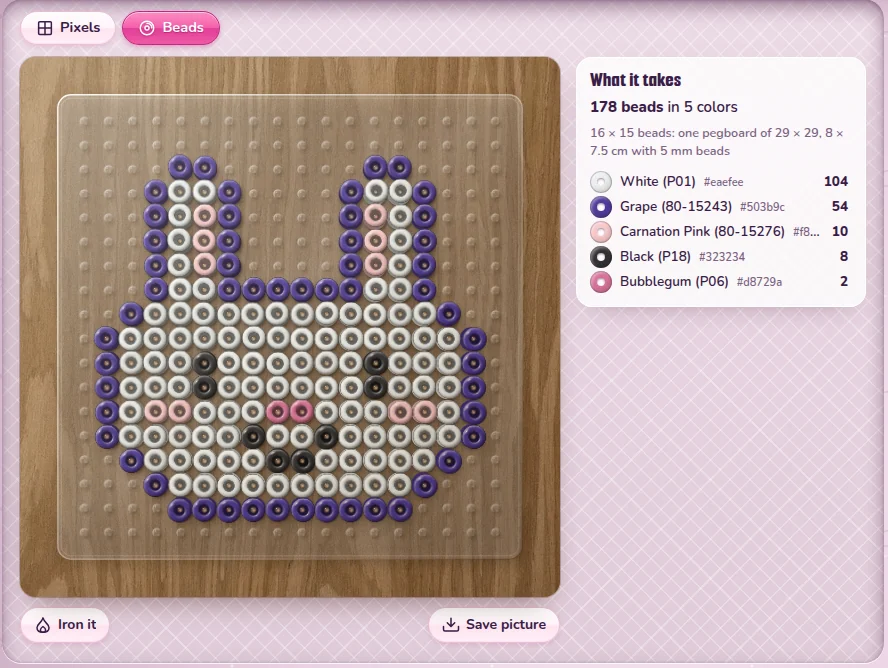
Under Colors, pick Perler beads or Hama beads, the brand you have. Now every pixel is the color of a real bead, with its name and number, like White (P01) or Black (P18). It uses at most 16 colors to begin with - fewer colors are fewer bags of beads to buy; slide At most for more. Then press Beads at the top to see it on a pegboard.
3 Only the colors you have
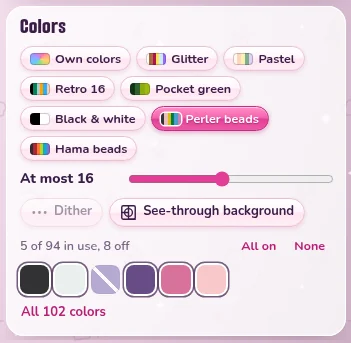
The chips under the palettes are the bead colors in your pattern. Is one of them not in your box? Tap it: it is crossed out, and the pattern is made again with the nearest color you do have. In the card below, Grape is switched off, and the pattern uses Purple (P07) for the edge instead. All 102 colors shows every Perler color, to switch on or off; All on brings them all back. A few Perler colors that Perler's own shop does not list start switched off. What you switch off is remembered in this browser, so next time your box is still there.
4 How many beads, and how big
Next to the beads, What it takes tells you everything to get ready:
- how many beads in all, and in how many colors;
- how many beads across and down, how many pegboards of 29 × 29, and how big it gets in centimeters with beads of 5 mm - the usual size of Perler and Hama Midi beads;
- every color with its name and number, and how many beads of it - the most used first.
A few spare ones. Beads roll away and a pet always finds one: take a few more of each color than the list says.
5 Print the pattern
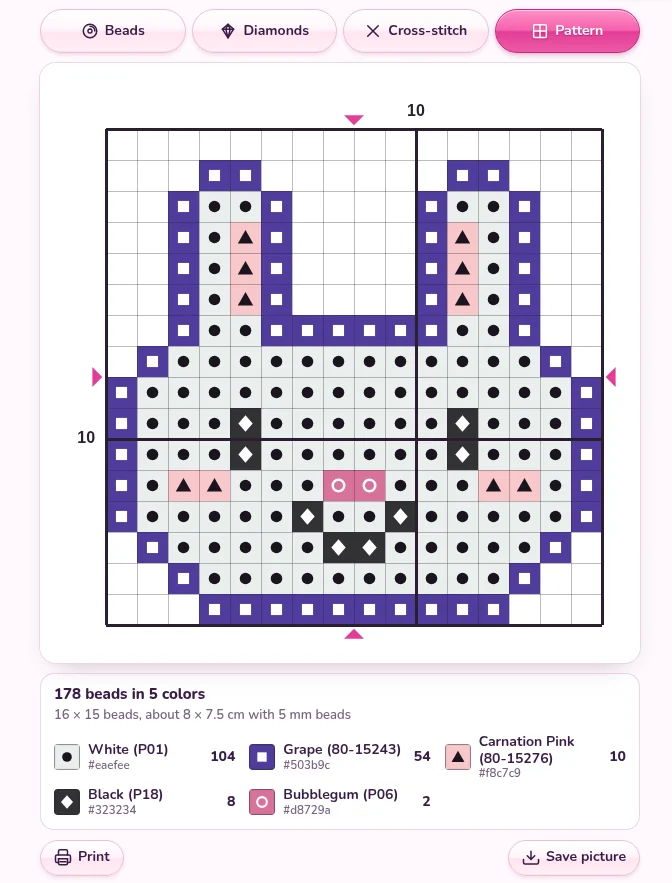
Under the picture, next to See it as, press Pattern. It is the chart to make it from: every color has its own symbol, a bold line every ten pixels helps you count, and the little arrows mark the middle. Under it is the key, with how many beads of each color. Press Print to print it, or Save picture to keep it on your phone next to the pegboard.
6 See it ironed
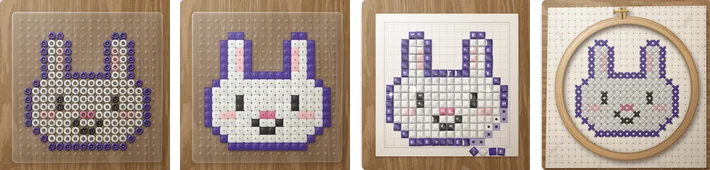
In Beads, press Iron it: an iron goes over the board and the beads melt together, as they will at home. Press it again to have the loose beads back. Save picture saves the photo of your beads. And See it as Diamonds or Cross-stitch shows the same pixels as a diamond painting or as cross-stitch in a hoop - one pattern, three crafts.
7 Iron your real beads
An adult does the ironing. Children can place the beads on the pegboard; Perler and Hama both say the iron is for a grown-up.
- Put the pegboard with the beads on a flat table that can take some heat.
- Lay the ironing paper that comes with the beads over them. The iron only ever touches the paper, never the beads or the pegboard.
- Set the iron to medium, without steam (Hama says two dots, ●●, for its Midi beads).
- Move the iron over the paper in small circles, without pressing, for about 10 to 20 seconds - until you can see the colors of the beads clearly through the paper. Lift a corner to check: well-ironed beads still have a little hole in the middle.
- Let it cool for a few minutes with the paper still on. Then take the paper off, lift the piece off the pegboard, and let it cool all the way under a book, so it stays flat.
- For a stronger piece, turn it over, lay the paper on the other side and iron it the same way. Then let it cool under the book again.
Every iron is a little different, so try a small piece first. And do not leave the iron in one spot too long: the beads melt shut and run into each other.
Make a bead pattern or draw your own pixel art first
Good to know next
 How to turn a photo into pixel artA photo, a GIF, a video or your camera in pixels, in the colors you choose.
 How to make pixel art, pixel by pixelYour own pixel art on a grid of 16, 24 or 32, saved as a GIF or sent as a link.
 How to make animated pixel art (a moving GIF)Frames, onion skin and a speed: pixel art that blinks or bounces, as a GIF.
 Pixel art sharp on your page, and as your site iconPixel art crisp on Neocities or SpaceHey, and as the icon of your site.